
HUSH Roblox The Hollow Map Guide: Exits, Keycards, and Boss Routes
The Hollow in HUSH requires exploring a four-level underground limestone mine to secure laboratory loot, defeat bosses, and reach functioning extraction points. Surviving the facility demands routing around three generator stations, managing noise-sensitive infected, and carrying sector-specific keycards.
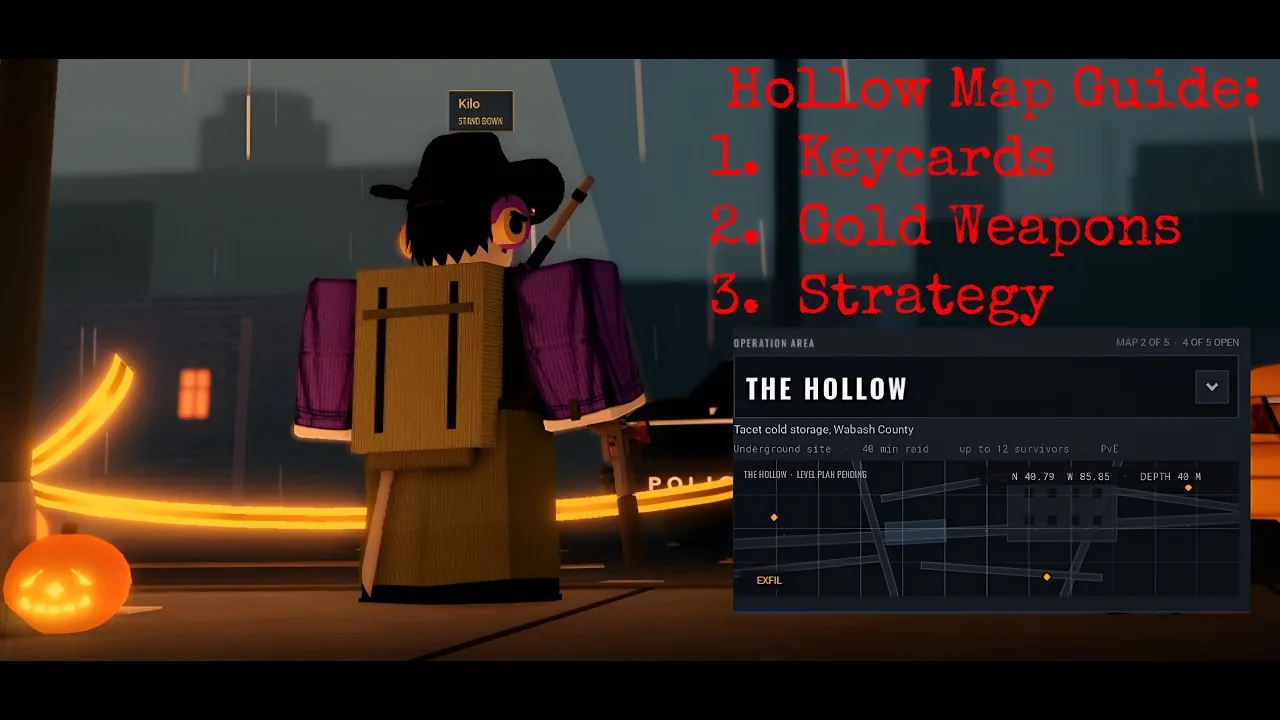
The Hollow in HUSH requires exploring a four-level underground limestone mine to secure laboratory loot, defeat bosses, and reach functioning extraction points. Surviving the facility demands routing around three generator stations, managing noise-sensitive infected, and carrying sector-specific keycards.
Facility Layout and Level Navigation
The Hollow sits beneath the quarry as a subterranean research mine divided into five sectors: Deep Mine, Site Security, Old Mine, The Eaves, and Cold Storage. Unlike the open streets found in the Stillwater map guide, this subterranean complex is arranged vertically across four distinct tiers. Flashlights switch on automatically upon deployment, and moonlight faintly illuminates connecting rock tunnels.
Press M to inspect the paper map and toggle between individual floor views using Q and E or the on-screen floor tabs. The in-game clock displays your current sector name and floor level. Key navigation landmarks include:
- The Sinkhole and room R13 on the northwest side of the central structure.
- Archive Stacks on the southwest side, positioned northeast of Army Staging Cavern.
- Site Security and the circular command center in the southeast sector.
- The Underground River and dock cavern leading toward Rook's Raft.
- The central power junction, featuring an octagonal layout and an atrium fountain where large packs gather.
Hollow Extraction Points
Planning an exit route before engaging enemies prevents getting trapped when raid timers wind down. The Hollow features seven extraction points, each with specific physical or financial requirements.
| Exit Option | Operational Requirement | Evacuation Trade-off |
|---|---|---|
| Sinkhole Switchback | Always open with no item check | Requires crossing open, enemy-dense atrium paths near the sinkhole |
| Rook's Raft | Dock at The Caves; pay 2,500 Cash directly from your stash | Costs stash currency and requires a long jog through the cavern system |
| Vent Raise Ladder | Backpack frame limit of 9 cells or smaller; allows one survivor at a time | Disqualifies standard medium or large backpacks regardless of how empty they are |
| Director's Escape Tunnel | Black Card swiped at the southwest tunnel access reader | Demands eliminating The Chief or obtaining a high-tier card beforehand |
| Skip Cage | Active generator power supplied to the sector lift | Running a generator demands a fuel can and creates 90 seconds of loud attraction |
| Reefer Truck | Fuel can placed into the vehicle tank | Takes up carried inventory grid space until the fuel is delivered |
| Helipad | Flare ignited directly on the surface pad | Exposes your squad to open sightlines while signaling extraction |
Keycard Spawns and Locked Sectors
Keycards open research labs, executive suites, and secure gates across the mine. Doors and readers operate independently: swiping an authorized card unlocks the mechanism, after which you must use the door prompt to swing it open. Detailed item descriptions and container coordinates appear in the guide for The Hollow keycards.
- Security Card: Look for a blue card labeled SEC CARD inside room R13 (CCTV), northwest of the central atrium. Search the blue-gray wall locker situated beside a red chair and bookshelf. This card unlocks the research office located next to the corridor with metal shelving.
- Lab Access Card: Labeled LAB CARD, this green item opens experimental rooms and cold storage within MX Research. Known search targets include the low cabinet under the painting in the research office (between R22 and R28), the wooden-topped desk near three floor beds in Site Security, and the office desk past the red diamond-carpet room. A crowbar can pry these doors open in 6 seconds if you lack the card, though prying creates substantial noise.
- Staff Card: Flashlight-equipped security guards patrol the corridors outside MX Research. Defeating these specific guards provides a chance to loot the Staff Card, which grants access to the main entrance of Security HQ.
- Black Card: Also recognized as the Containment Card, this item features a black face with a red stripe. The Chief carries this card inside Security HQ on Hard and Nightmare raids. It unlocks the southwest Director's Escape Tunnel and the Deep Mine vault safe near Cell 05.
- Red Card: The Mayor drops the Red Card upon defeat, which opens the director's door located above room D21.
Generator Mechanics and Facility Threats
Three electrical generators operate across The Hollow. Activating a generator requires pouring in an extracted fuel can. Once initiated, the motor runs loudly for 90 seconds, pulling nearby infected directly to the generator room before locking into an active state for the remainder of the raid.
Supplied power illuminates the corresponding sector, activates lighting rigs, and powers motorized gates and elevator lifts. Unpowered security gates can be manually cranked open in 8 seconds, but manual cranking generates loud operational clatter that draws local swarms.
The Hollow houses specific infected variants that react to environmental changes:
- Watchman: Observes the area through a shoulder-mounted lamp. Destroying the lamp removes his forward vision.
- Sleeper: Rests along tunnels in dormant packs. Loud steps or gunshots trigger chained wake-up reactions.
- Mimic: Replays loud noises to lure players into dead-end passages.
- Fogger: Spreads dense fog clouds where breathing and coughing increase sound output.
- Shade: Hunts effectively in pitch darkness but freezes under direct flashlight or utility lighting.
Solo infected populations reach roughly 400 on Normal, 480 on Hard, and 560 on Nightmare mode.
Hollow Boss Encounters and High-Value Loot
Two specialized bosses spawn within The Hollow on Hard and Nightmare difficulties. Defeating them provides access to keycards and police-tier equipment.
The Chief commands Site Security inside the circular command room, wearing a dark security uniform and white peaked cap. Fighting him requires holding doorway choke points against escort waves. Defeating The Chief yields high-grade firearm attachments, police gear, and the Black Card. In addition to standard drops, The Chief has recorded drops for gold weapons, detailed further in our overview of gold weapons locations.
The Mayor roams the Deep Mine corridors surrounding Cell 05, known as The Quiet Room. The Mayor wears a red formal suit, possesses sharp hearing that triggers the on-screen warning "She heard you," and sprints rapidly toward targets. Concentrated rifle fire to the head stops her charge before she closes distance.
Deploying on Nightmare difficulty locks the environment into permanent night, increases infected counts, and applies special conditions like Loud Night, which increases step detection range by 50% while adding a 10% raid loot bonus. Survivors clearing both bosses and extracting through The Hollow on Nightmare receive an extraction bonus equal to 60% of total carried loot value in cash along with +3 EP. Attempting both boss encounters requires packing between 400 and 700 rounds of primary ammunition, an antiviral injector for fast bite treatment, and sufficient healing supplies. Review the requirements for the nightmare mode unlock before attempting deep facility runs.