
HUSH Roblox Colonel Solo Guide: Boss Prep and Raid Survival
HUSH Roblox Colonel solo encounters require quiet map movement, strict sound discipline, and planned extract routes. Solo survivors must balance stealth mechanics, manage standard infected spawns, and preserve key equipment using the secure container before the raid timer expires.
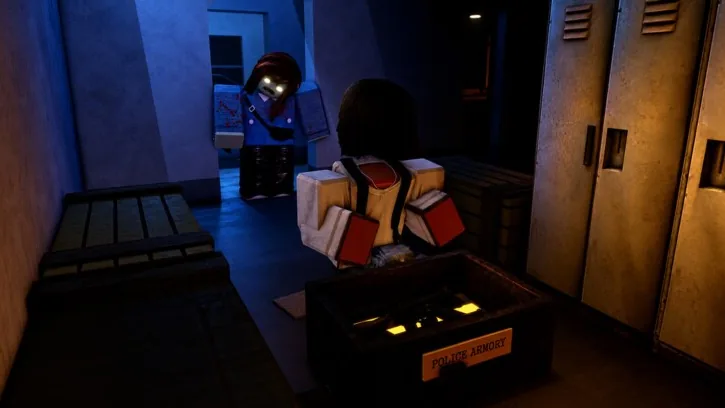
HUSH Roblox Colonel solo encounters require quiet map movement, strict sound discipline, and planned extract routes. Solo survivors must balance stealth mechanics, manage standard infected spawns, and preserve key equipment using the secure container before the raid timer expires.
Solo Raid Structure and Deployment Rules
HUSH [Zombie Extraction], developed by Blue Code Studios on Roblox, functions as a pure PvE extraction shooter set in quarantined Stillwater and surrounding zones. Each raid instance supports up to 12 survivors. While squads can form with up to four players, going into an encounter alone requires complete self-reliance. If you are starting fresh, reviewing a beginner guide clarifies basic session flow.
Deploying alone shifts how you track time and space. Raids place you on maps such as Stillwater, The Hollow, or Kestrel Field with an active countdown clock. Dying inside a raid strips away all equipment, weapons, and backpack loot brought into the match. Only the contents stored inside your secure case return to base. Understanding standard solo guide habits helps you avoid overextending into high-risk rooms before securing an extraction point.
Sound Mechanics and Managing Surrounding Infected
The core mechanic in HUSH centers on auditory stealth. The infected cannot see, but they detect noise across wide areas. The developer summarizes this dynamic directly: every shot rings the dinner bell. When preparing to engage high-threat targets like the Colonel or any of the game's five bosses, your immediate environment poses just as much danger as the boss itself.
Stillwater contains several distinct infected types that respond aggressively to acoustic cues:
- Runners: Fast-moving infected that close distance immediately once alerted by footfalls or gunshots.
- Blind Listeners: Highly sensitive enemies that detect minor noises in nearby corridors.
- Screamers: Disruptive targets that emit loud alerts, drawing nearby packs directly to your position.
- Shielded Riot Cops and Brutes: Heavily protected infected that absorb direct damage and block pathways.
- Pager Ringers: Audio hazards that create sudden alerts if not neutralized quietly.
To survive solo boss attempts, prioritize silent eliminations on these perimeter threats. Using a blade eliminates targets without echoing through adjacent rooms. Closing doors behind you physically obstructs roaming infected and breaks lines of acoustic travel. Reserve firearms for urgent combat, and immediately relocate if forced to break silence. A dedicated weapons guide outlines how blades and ranged options differ in field utility.
Difficulty Tiers and Raid Timers
Choosing the appropriate difficulty tier determines the time allowed to clear rooms, locate extraction points, and face boss encounters. Raid durations scale upward with each tier, as recorded in update 0.5.0:
| Difficulty Tier | Raid Duration | Solo Strategic Focus |
|---|---|---|
| Normal | 20 minutes | Safe movement routes and basic enemy containment |
| Hard | 23 minutes | Balancing quiet blade kills against dense elite patrols |
| Nightmare | 25 minutes | Managing high-damage spawns and immediate exit extraction |
Starting on Normal difficulty provides an environment to study room layouts and extraction locations across the Stillwater map guide or the The Hollow map guide. Higher difficulties offer longer clocks, but increased infected aggression reduces the margin for error when fighting alone.
Inventory Preparation and Secure Case Rules
Managing grid inventory dictates what you can extract from a boss engagement. Because death wipes unshielded inventory, place your high-value items inside the secure case immediately upon discovery.
The standard pouch holds a small footprint, whereas the Secure Case 3x4 upgrade provides 12 secure inventory cells that survive death permanently. Between deployments, store spare weapons, recovery items, and crafting components in your stash. Upgrading storage shelves through a hideout building guide creates a reserve pool, keeping solo boss runs sustainable even if an extraction fails.