
HUSH Roblox Kestrel Airfield Map Guide: Keys, Routes, and Major Garrow
HUSH Roblox Kestrel Airfield map guide routes center on acquiring the Control Tower Key for Log Disc 28, locating the Ops Card, and managing Major Owen Garrow at the rear military compound. Players extract via the Charter Strip after securing high-tier armory loot.
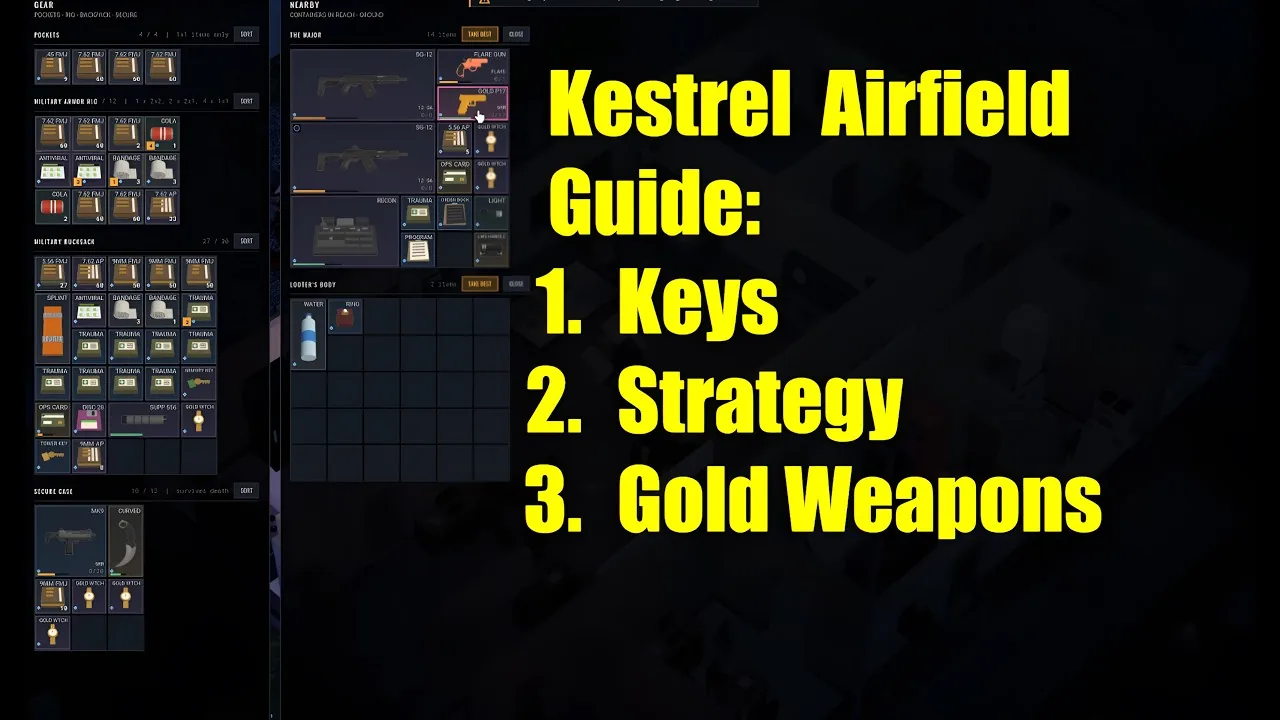
HUSH Roblox Kestrel Airfield map guide routes center on acquiring the Control Tower Key for Log Disc 28, locating the Ops Card, and managing Major Owen Garrow at the rear military compound. Players extract via the Charter Strip after securing high-tier armory loot.
Kestrel Field expands beyond the close-quarters city streets of Stillwater into wide tarmac strips, aircraft hangars, utility buildings, and fortified command areas. The map introduces high-value military supplies, heavy weaponry, and long sightlines guarded by ranged riflemen and snipers. Sound management remains strict because open tarmac offers minimal cover against sprinting infected.
Keycard Chains and Building Access Routes
Navigation across Kestrel Field depends on a connected series of keys and utility cards required to unlock restricted storage depots and terminal stations. Missing a single prerequisite card prevents access to mission logs and high-tier military containers.
The key hunt begins across the airfield hangars:
- Search Hangar 4 to collect the Hangar 3 key from interior utility surfaces.
- Enter Hangar 3 to clear surrounding guards and secure intermediate supplies.
- Locate the Control Tower Key to unlock the primary terminal room inside the flight control facility.
- Retrieve Log Disc 28 from the terminal desk inside the control tower.
- Secure an Ops Card, which spawns at military checkpoints, inside armory side rooms, or directly from the central military compound.
The Ops Card functions with limited uses before breaking. Using the Ops Card at the vehicle gate or transmitter room unlocks access to command terminals, but saving durability permits entry into the base armory. Inside the airfield armory, lockers can yield heavy firearms including the LM5 light machine gun and miniguns. Players who need medical crafting components can divert into the airfield supply depot, which consistently holds spring kits and trauma equipment.
Confronting or Calming Major Owen Garrow
Major Owen Garrow commands the rear military compound near the staff quarters and supply office. Unlike standard infected that rely entirely on sound cues, the military compound is defended by active marksmen, armed gunners, and stationary snipers posted across perimeter walls. Firing unsuppressed weapons in this area alerts perimeter guards and draws nearby infected packs directly into the courtyard.
Survivors have two distinct paths when encountering the boss:
The direct combat approach requires clearing guards along the perimeter fence before advancing to the rear utility structures. The creator Aucune idée Canard reported carrying around 400 primary rounds and 180 secondary rounds for Nightmare difficulty, using armor-piercing ammunition on bodyguards and standard rounds on the target. Searching the boss container after a kill yields items such as the SD-12 shotgun, helmet gear, gold coins, rings, trauma kits, Ops Cards, and potential gold weapons locations.
The peaceful alternative allows completing the CEASE quest without expending hundreds of bullets. Enter the main headquarters building and reach the transmitter console located in the northwest utility room. With an Ops Card and Log Disc 28 in inventory, interact with the radio console and select the option to transmit the recorded order. Do not select the option to cut the transmitter net. Once the recording broadcasts the order to stand down, Major Garrow sits down and remains stationary, allowing survivors to loot his container directly while avoiding a prolonged shootout.
Raid Routes and Tactical Choices
Choosing an operational plan before spawning determines what gear should be brought in from the hideout stash. Normal difficulty simplifies guard awareness, while Nightmare increases spawn density and damage.
| Tactical Option | Best For | Operational Requirements and Costs |
|---|---|---|
| CEASE Transmitter Route | Quest completion and safe boss looting | Requires Log Disc 28, Control Tower Key, and an Ops Card; leaves the perimeter snipers active |
| Direct Compound Assault | Rapid clearing and gathering combat drops | High ammunition expenditure; demands armor-piercing rounds and suppressed rifles |
| Perimeter Armory Run | Fast weapon upgrades without boss engagement | Requires armory access items; avoids the rear compound but risks running into tarmac snipers |
Solo players exploring the zone often benefit from reviewing a general beginner guide to maintain proper noise budgets when moving across open ground. Engaging in sustained firefights near the tarmac attracts runners and brutes from adjacent hangars, turning simple looting runs into resource-draining survival battles. Those aiming specifically for high-tier boss rewards can study Major Garrow nightmare farming to optimize inventory space for gold watches and weapon attachments.
Airfield Extraction Points and Exit Costs
Surviving Kestrel Airfield concludes with reaching a designated extraction point before raid timers expire or roaming infected cut off the runways. Because open roads expose survivors to long-range marksmen, planning the extraction route early prevents frantic sprints across open asphalt.
The Charter Strip serves as a primary paid exit point on Kestrel Field. Activating this extraction requires paying cash, with observed costs ranging between $3,500 and $4,500 depending on raid conditions. Carrying sufficient currency in a secure pouch ensures that players do not find themselves stranded at the runway gate after a successful compound run.
Alternative exits depend on items obtained from other operational zones. Players holding a military keycard recovered while following a Stillwater map guide can trigger the military escape route toward Overture. Regardless of the chosen exit point, ensure valuable items such as replacement keycards, gold watches, and high-tier weapon modifications rest inside secure containers before making the final dash toward the extraction zone.