
HUSH Roblox The Witness nightmare guide: Boss Strategy and Weak Point
Defeating The Witness in HUSH on Nightmare difficulty requires luring the boss toward the North Yard perimeter wall, targeting his torso weak point, running when designated as the Subject, and destroying four recorders during the Deposition phase.
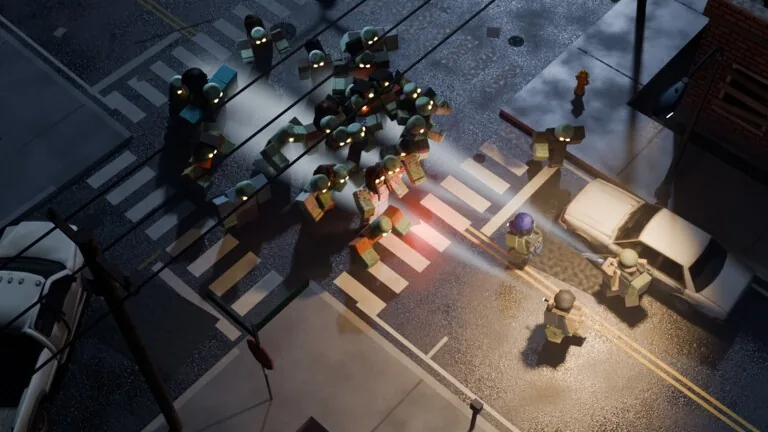
Defeating The Witness in HUSH on Nightmare difficulty requires luring the boss toward the North Yard perimeter wall, targeting his torso weak point, running when designated as the Subject, and destroying four recorders during the Deposition phase.
Encounter Conditions and Arena Preparation
The Witness spawns exclusively in Overture Plaza during Nightmare difficulty raids featuring Night and Fog modifiers. Accessing Nightmare raids requires completing the nightmare mode unlock by finishing Doc's Patient Zero assignment. Because Nightmare raids feature faster bites and denser infected spawns, arena preparation determines survival before engaging the boss.
The boss appears as a tall humanoid figure wearing a long dark coat with a pale head. Before engaging him, eliminate surrounding infected around the building perimeter. Runners, Listeners, and Crawlers in the vicinity consume the space needed to kite during combat.
Draw The Witness toward the northern map boundary near the North Yard landmark. Use the perimeter wall and tree line to maintain distance while keeping an open retreat path. Backing into corners formed by trees and boundary walls traps survivors, making rapid distance management impossible.
Weak Point Targeting and Movement Tactics
The torso serves as the designated weak point for The Witness during Nightmare encounters with Night and Fog. Center weapon crosshairs directly on his chest and upper body to deliver consistent damage. Using weapons with suitable calibers outlined in the weapons guide helps sustain the damage needed to advance through each combat threshold.
The Witness closes distances quickly across open ground. Fire while walking backward along the perimeter, then break line of sight to reload before the boss closes within striking range. Stand-still firing lines lead to immediate damage. Coordinate with squadmates to rotate aggro, alternating between shooting torso shots and sprinting backward along the cleared fence line.
Handling Subject and Deposition Mechanics
The encounter features two specific phase announcements requiring immediate squad communication and tactical adjustments.
When the warning "You are the Subject" appears on screen, a red circle forms beneath the targeted player. The designated survivor must disengage completely and sprint along the cleared perimeter path. Squadmates must immediately open fire to pull The Witness's focus away from the fleeing survivor.
During the Deposition phase, the on-screen alert declares "He is reading it out!". The encounter offers two distinct methods to halt this action before squad members take damage.
| Counter Method | Required Item or Target | Combat Execution |
|---|---|---|
| Destroy Four Recorders | 4 active field recorders | Shoot or strike all four recording units deployed around the immediate combat area |
| Play His Own Tape | The Witness's audio reel | Activate the tape directly to interrupt the reading action through The Witness calming mechanics |
Failing to neutralize the Deposition prompt allows The Witness to continue his attack sequence unabated. Assign designated roles beforehand so support teammates handle recorder destruction while primary shooters maintain line-of-sight awareness.
Searching the Body and Reaching an Exit
Once The Witness falls, approach the corpse until the prompt "The Witness — F SEARCH" displays on screen. Loot high-value findings into protected secure slots, especially if health items or raid timers run low.
Nightmare raids punish lingering after loud boss battles. Gunfire draws nearby roamers to the North Yard perimeter, making an organized withdrawal necessary. Review the squad's inventory state, treat lingering Bleeding with a Bandage, and restore lost health with Pills as detailed in the beginner guide.
Plaza features three primary exit options. Garage Ramp remains always open and requires no special tools. Lake Tunnel allows extraction only if carrying a backpack with a total capacity of 9 cells or fewer. Stage Door requires a Vault card to operate. Select the extraction point that matches carried equipment and exit immediately before the raid timer expires.